

|photo: ian dooley via unsplash
I may have mentioned this before...IT'S HOT. That calls for ice cream. Homemade ice cream is crazy easy to make at home. Can you stir ingredients together? You can make homemade ice cream.
An ice cream maker is an essential kitchen tool in my book. This is the ice cream maker we have. It's simple without a bunch of bells and whistles...you don't need bells and whistles to make ice cream.
What I'm saying is...get one.
Let me share some helpful tips to make the most of your ice cream maker.

1. Freeze your ice cream maker bowl: Most ice cream makers require you to freeze the bowl before use. Remember to freeze it for at least 24 hours before you make your ice cream. (Use an "oven glove" to move from the freezer...it gets frigid!)
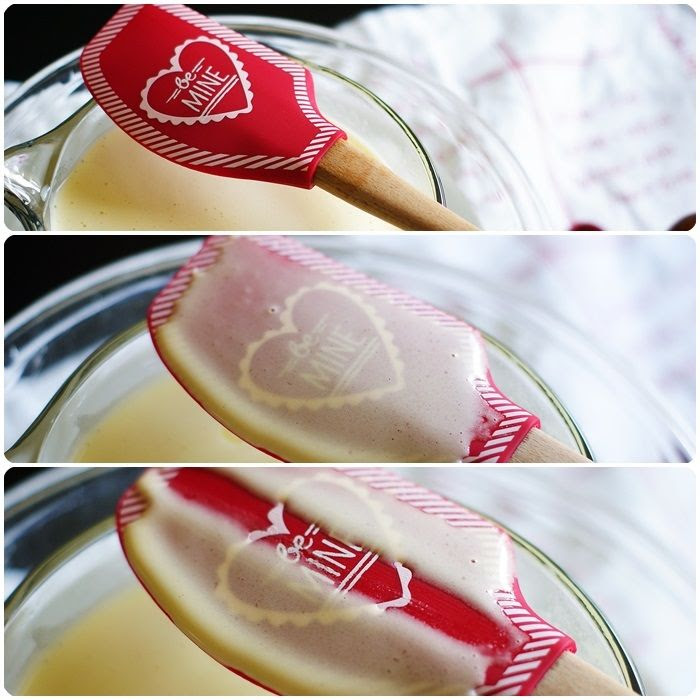
2. Chill your ingredients: To make sure your ice cream freezes faster and has a smoother texture, chill all your ingredients before you start. Many ice creams start with a cooked custard base, so it's doubly important to chill that down before pouring into your ice cream maker bowl.
.jpg)
The easiest way to do this is to pop the ice cream mixture in the fridge for several hours. If you want to speed the process along, use an ice bath.

3. Line that freezer bowl with plastic wrap: The plastic wrap won't form a tight seal around the inside of the bowl, but it'll give it a little protection from the smell of last week's leftover garlicky spaghetti sauce.
.JPG)
4. Follow the manufacturer's instructions: Every ice cream maker is different, so make sure you read the manufacturer's instructions for best practices for your particular model.
.jpg)
5. Follow the specific recipe: Before starting a recipe, read through it in its entirety. Different ice creams may require different techniques.

6. Freeze the paddle: While making the ice cream base, freeze the churning paddle.
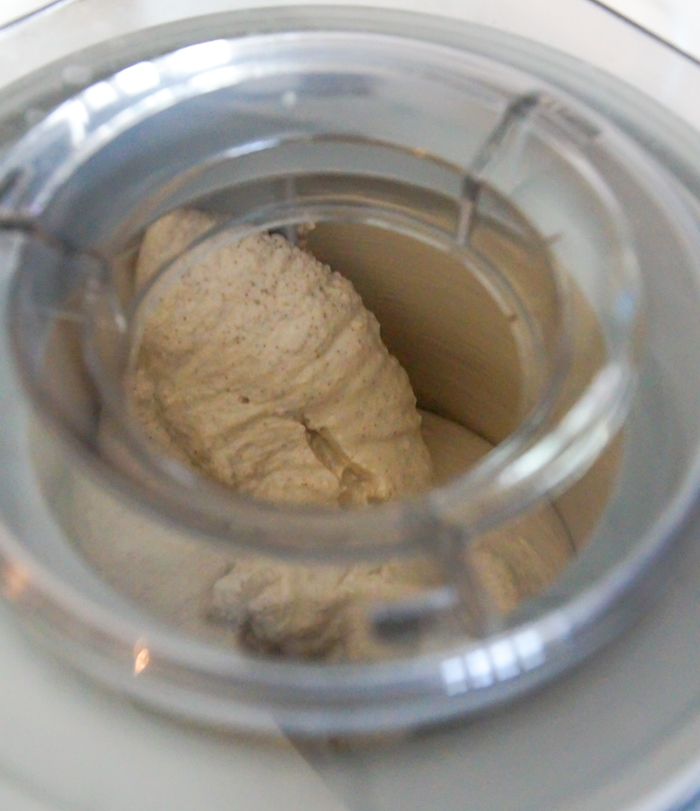
7. Don't overfill the machine: When you add your ice cream mixture to the machine, be careful not to overfill it. Some machines have a maximum fill line, so make sure to follow it to avoid a mess...and wasting precious ice cream! Most ice cream machines will churn about a quart of ice cream base.

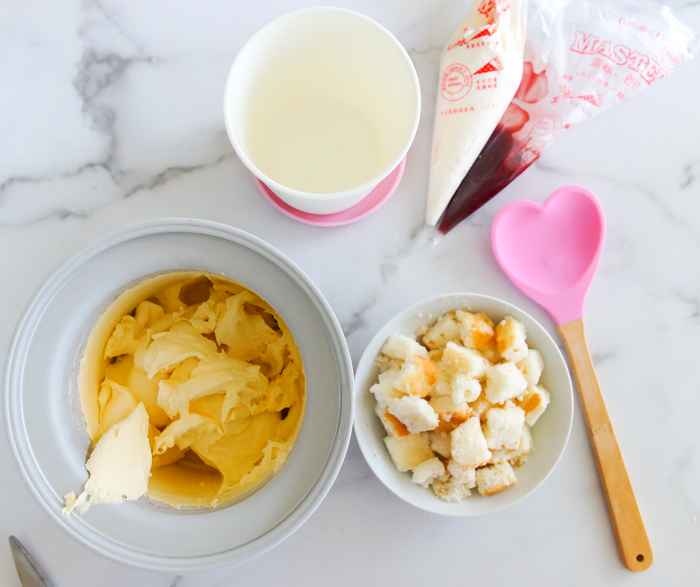
8. Chill mix-ins and add at the right time: Remember how we chilled our ice cream base? You'll want to chill your mix-ins as well. Add mix-ins in the last few minutes of churning, or if you want large, intact chunks or swirls of a sauce throughout, add it as you're scooping the ice cream into a freezer container.

9. Freeze after churning: Once churned, the ice cream will be very soft. Scoop into freezer-safe containers. I like these paper, takeout ice cream containers if I'll be sharing, or these cute plastic ice cream containers if we're eating it all at home.

10. Cover with plastic wrap: To prevent freezer burn and the ice cream from picking up other flavors from the freezer, press a piece of plastic wrap directly onto the top of the ice cream. Waxed paper will also work!

|photo: irene kredenets via unsplash
Searching for homemade ice cream recipes? Here are our favorites!
- dark chocolate peanut butter ice cream
- chocolate-ribboned peppermint ice cream
- churro ice cream
- bride's cake ice cream
- chocolate chip cookie dough ice cream
- 7-layer cookie ice cream
- vanilla bean frozen custard
- mocha ding dong ice cream
- roasted cherry and almond cheesecake ice cream
- coconut cream pie ice cream
Go forth and make ice cream!